Showing posts with label airbrush. Show all posts

Thursday, 9 April 2015

On the importance of preshading - an airbrush lesson.

If you're like me, you probably bought an airbrush because you don't want to waste time doing that most boring of tasks - undercoating and base coating!

An airbrush can be so damn helpful that it will revolutionise your painting workflow so that not only will you get more work done in a smaller period of time, you'll also probably start to enjoy those menial tasks.

If you're like me, you also got straight into airbrushing without a thought for the layering of paint and the slightly odd way in which you need to highlight using an airbrush.

This is called pre-shading.

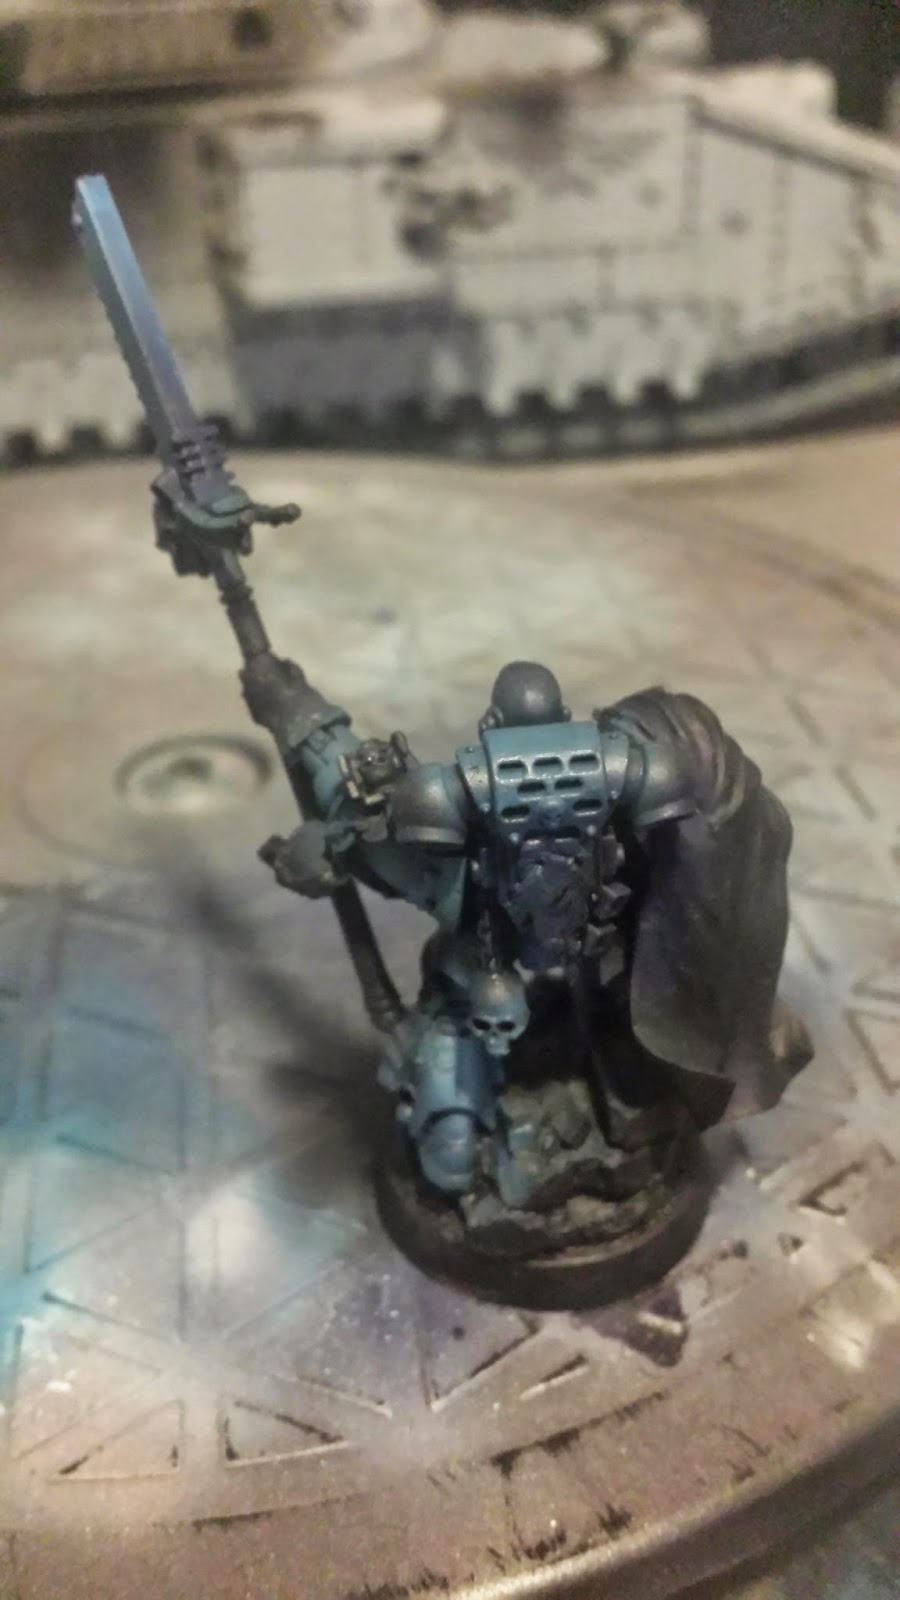
Here is an example of models that have not been pre-shaded -

Note the flatness of the armour. I'm showing you this on my night lords because pre-shading is so much more important with darker colours. Lighter colours can easily be washed and a great effect can be achieved. Dark blue for example, however, is not a forgiving colour. 

My method for pre-shading with an airbrush is simple and effective, allowing for a dark colour of your choosing to go over it flat without too much hassle.

1. Start with a black undercoat.
2. Using a smaller nozzle (I recommend a 0.2mm or 0.3mm), carefully apply a light-medium grey to areas you want to highlight. 
In my case, it is from the top, down, as I like to achieve a semi zenithal highlight effect to my flat armour panels.

example


3. Being extremely careful, use your 0.2 nib to highlight those grey areas to white.

example


These models are now fully pre-shaded and ready to basecoat. For my Night Lords, I like to basecoat with a 2/1 mix of vallejo model air french blue and signal blue. I find those two together are probably my favourite colour for night lords. Add a drop or two of thinner with it to make sure that pre-shade comes through - signal blue is quite dark and I find its' pigments ro be quite overbearing if not kept in check with some light dilution.

Here are both of those squads fully basecoated.


I hope you enjoyed my lesson. Stay tuned for more midnight clad antics.

Saturday, 29 November 2014

Zenithal Highlights anyone?

It's when painting in this style that you really become greatful for your airbrush. I really would have hated doing a gradient like that with a conventional brush.
The colour is vallejo imperial blue with airbrush thinner, then progressive additions of vallejo air white. The zenithal highlights on this Night Lord are a 3 part process and you should use the 0.2mm needle on your airbrush so you can do the fine bits (because masking and waiting for drying on every armor panel would be agonising).
Next step for me will be the iconic Night Lords painted lightning on the armor, followed by non-metallic metal on all the parts that need it. I ordered vallejo's nmm set last week, so I'm hoping it arrives soon. Can't wait to finish painting this guy!!

Friday, 19 September 2014

Commission work...

So I did this by commission for a mate for his sister's birthday...
Was fun.

Monday, 14 July 2014

Morning's work

Hi!

So, after a long night of cleaning up and building the Panoceanic Cutter, I spent the morning priming and basecoating it, followed by a liberal spray of vallejo satin varnish to keep the basecoat from chipping off the metal.

I use vallejo grey primer and vallejo air ferrari red for the prime and basecoats respectively.

In the first pic, you can see a few of my airbrush works in progress - the dark elf swordsmen from the other day, some eldar rangers (converted to dark eldar aesthetic using greenstuff and dark eldar bits), the hull of a hellhammer tank and a drop pod.

The second pic is the cutter up close.

By the way, I highly recommend airbrushing to everybody who loves a smooth coat. Airbrushes also open up some great techniques and 'looks' that are absolutely impossible to replicate with a conventional paint brush.

More updates to come.